Build a Three-Zone AWS Data Lake Using S3 and CloudShell
Modern data platforms often organize data into separate zones based on how much it has been processed. In this hands-on tutorial, I’ll use AWS CloudShell and the AWS CLI to create three Amazon S3 buckets for the landing, clean, and curated zones. These buckets form the storage foundation of a data lake and show how raw data can gradually be prepared for analytics, applications, and machine learning.

A data lake provides centralized storage for structured, semi-structured, and unstructured data.
A common data lake architecture organizes data into different zones based on its stage of processing. In this hands-on tutorial, I’ll use AWS CloudShell and the AWS CLI to create three Amazon S3 buckets representing the landing, clean, and curated zones.
What We Will Build
We will create three Amazon S3 buckets:
Landing Zone: Stores raw data in its original format.
Clean Zone: Stores cleaned, validated, and standardized data.
Curated Zone: Stores fully processed data ready for analytics and machine learning.
Step 1: Open AWS CloudShell
Sign in to the AWS Management Console and open AWS CloudShell from the top navigation bar.
CloudShell provides a browser-based terminal where you can run AWS CLI commands without installing the AWS CLI locally.
Run:
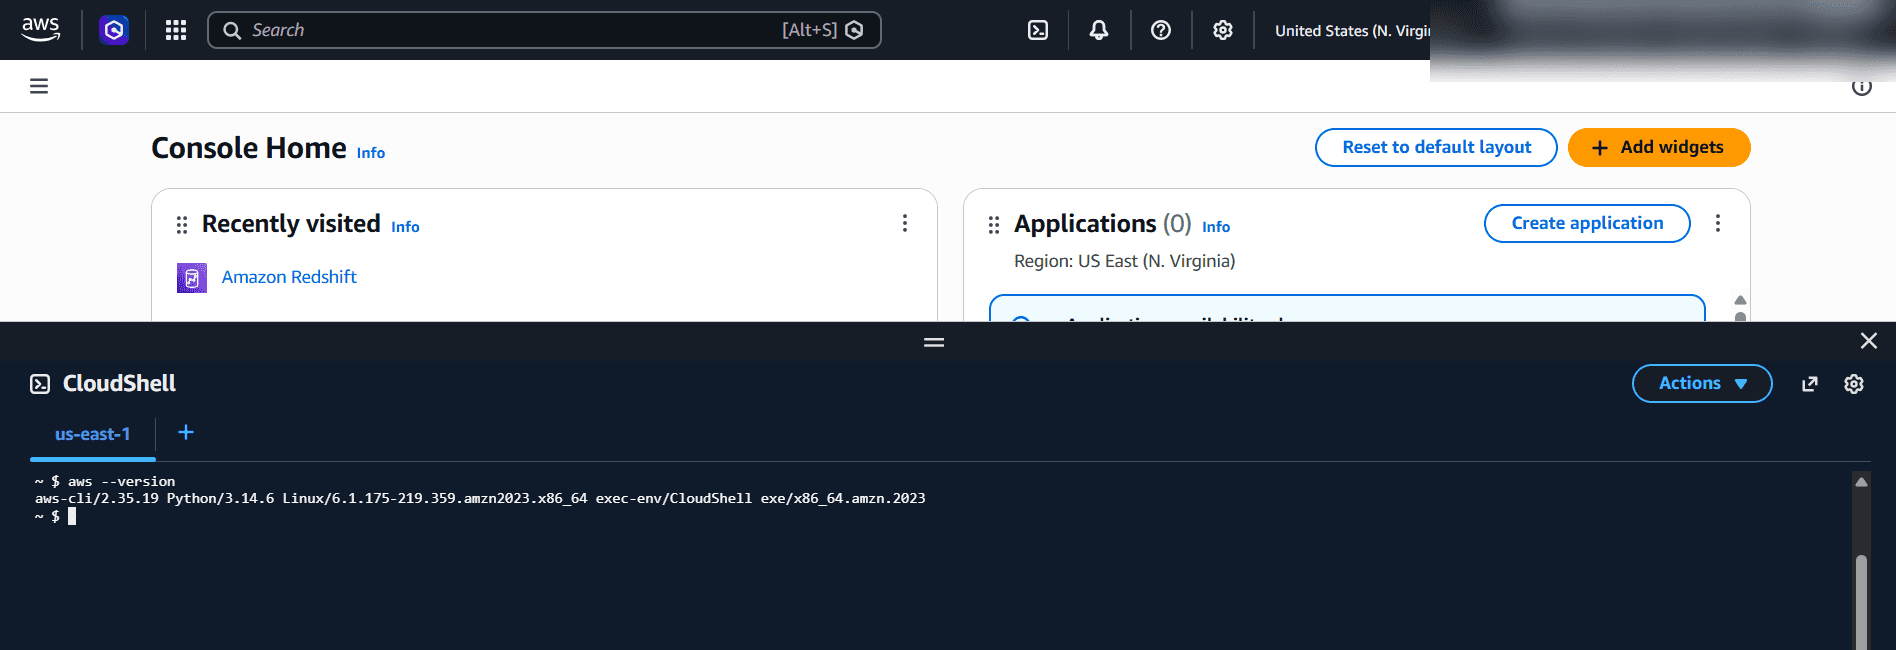
Figure 1: Verifying the AWS CLI installation in AWS CloudShell using the aws --version command.
Step 2: Create the Landing Zone
The landing zone stores data in its original format before any transformations are performed.
Run:
Replace databykaran-landing-zone-unique123 with your own globally unique bucket name, as Amazon S3 bucket names must be unique.
Step 3: Create the Clean Zone
The clean zone stores data after initial processing, such as removing duplicates, handling missing values, validating records, and standardizing formats.
Run:
Step 4: Create the Curated Zone
The curated zone stores trusted and fully processed data ready for downstream consumers such as analytics applications and machine learning teams.
Run:
Step 5: Verify the S3 Buckets
To confirm that all three buckets were successfully created, run:
You should see the landing, clean, and curated buckets in the output.
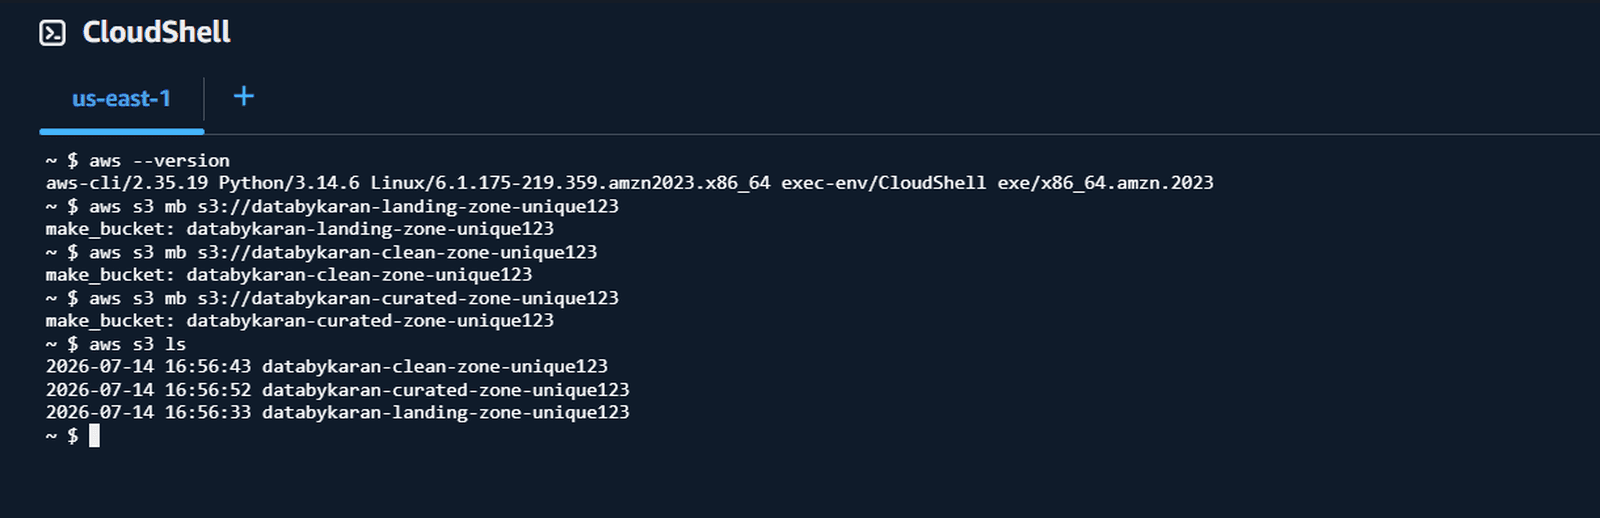
Figure 3: Creating the landing, clean, and curated Amazon S3 buckets and verifying them using the AWS CLI.
Step 6: Verify the Buckets in Amazon S3
Open the Amazon S3 Console and navigate to the General-purpose buckets section.
The three newly created buckets should now be visible.
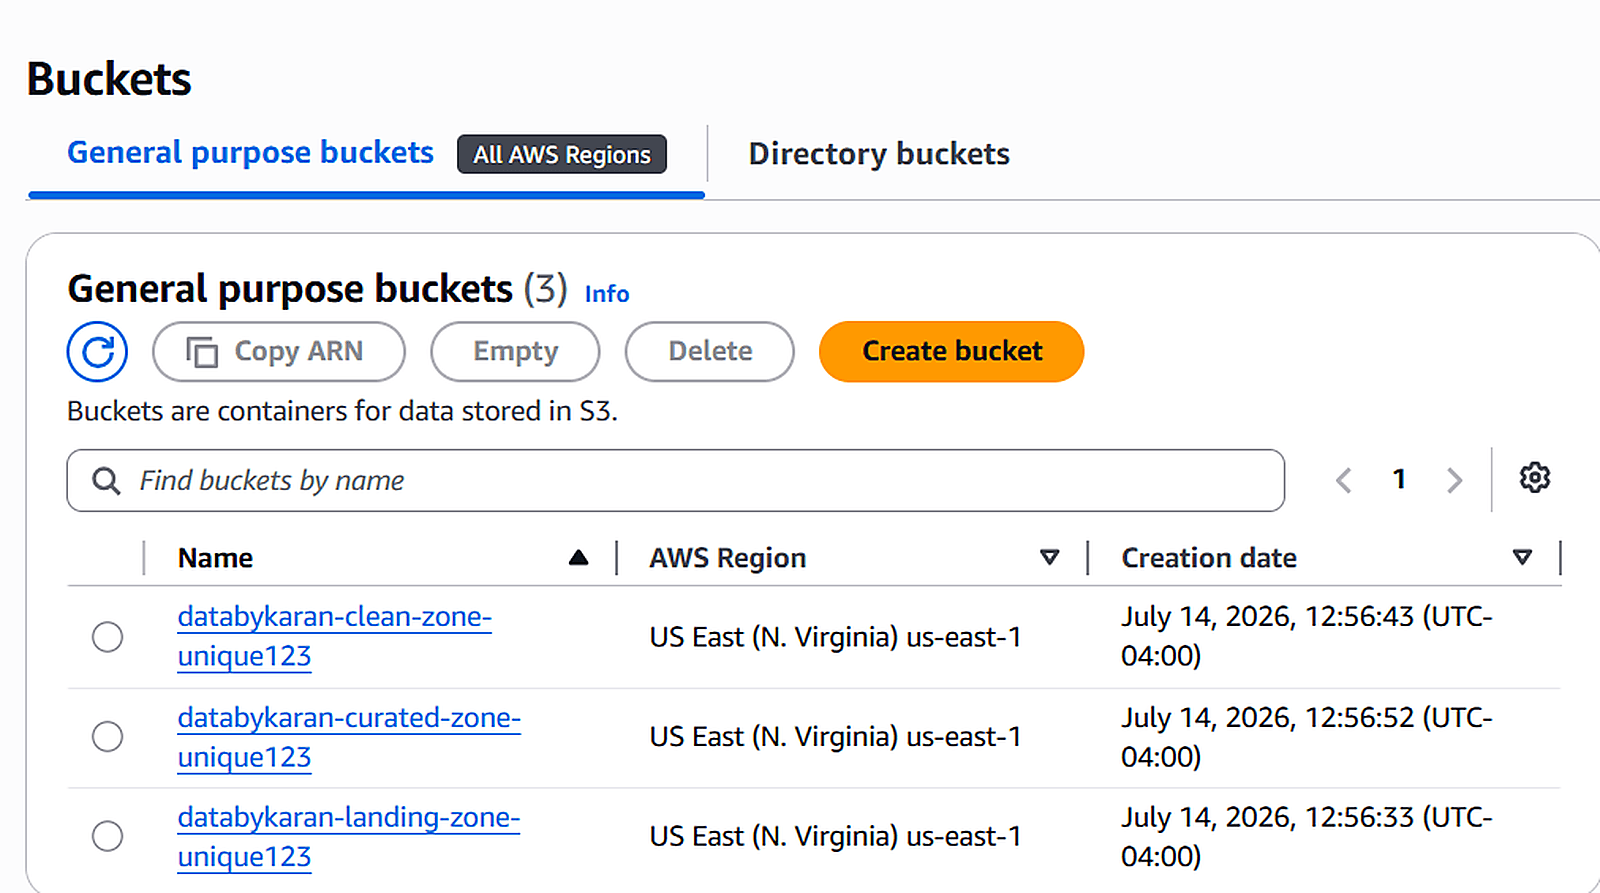
Figure 4: Verifying the landing, clean, and curated data lake buckets in the Amazon S3 Console.
Connecting This to My AWS Data Lakehouse Project
I applied this three-zone concept in my STEDI Human Balance Analytics Data Lakehouse Project. The project used Amazon S3, AWS Glue, Python, Spark, and Athena to process customer, mobile accelerometer, and Step Trainer sensor data.
The data moved through Landing, Trusted, and Curated zones. The Trusted zone served as the cleaned and validated layer, where records were filtered to include only customers who had agreed to share their data for research. In the Curated zone, Step Trainer readings were combined with matching accelerometer readings to create a machine_learning_curated dataset.
This final dataset was prepared for data scientists to train a machine learning model to detect steps while respecting customer privacy accurately.
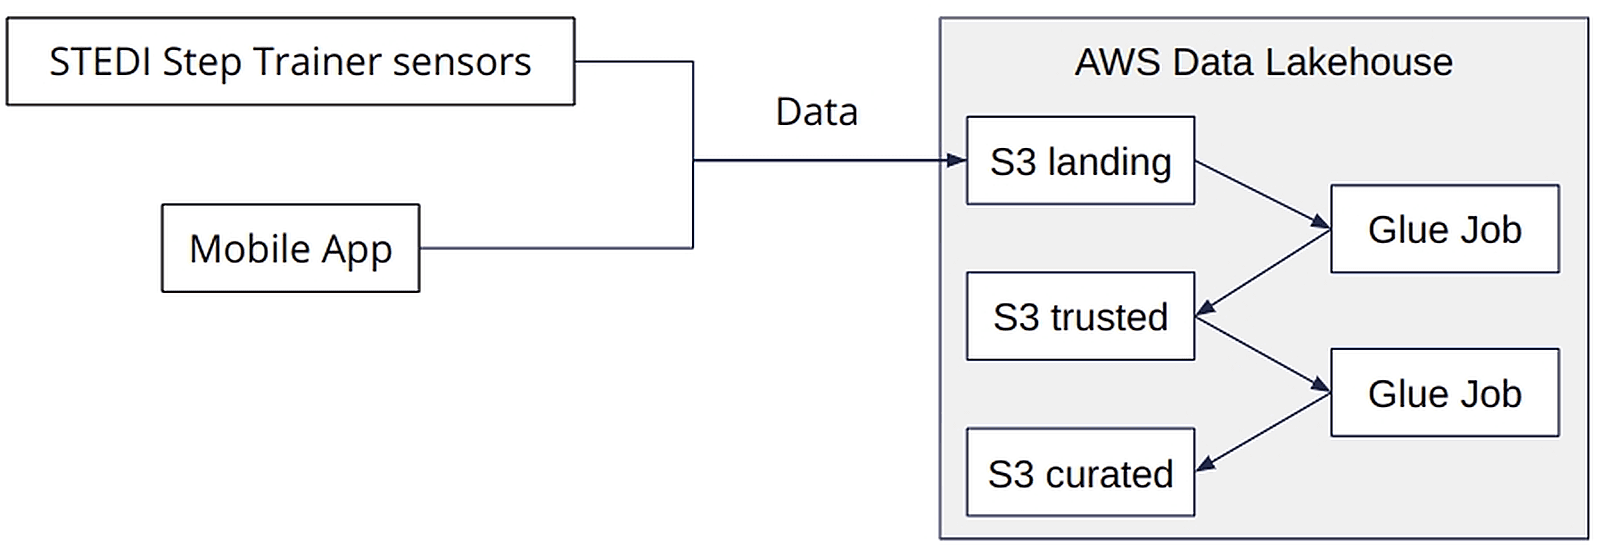
Figure 5: STEDI AWS Data Lakehouse architecture showing sensor and mobile app data moving through S3 landing, trusted, and curated zones using AWS Glue jobs.
To see the complete architecture, transformation workflow, AWS Glue jobs, SQL scripts, and results, visit the full project:
